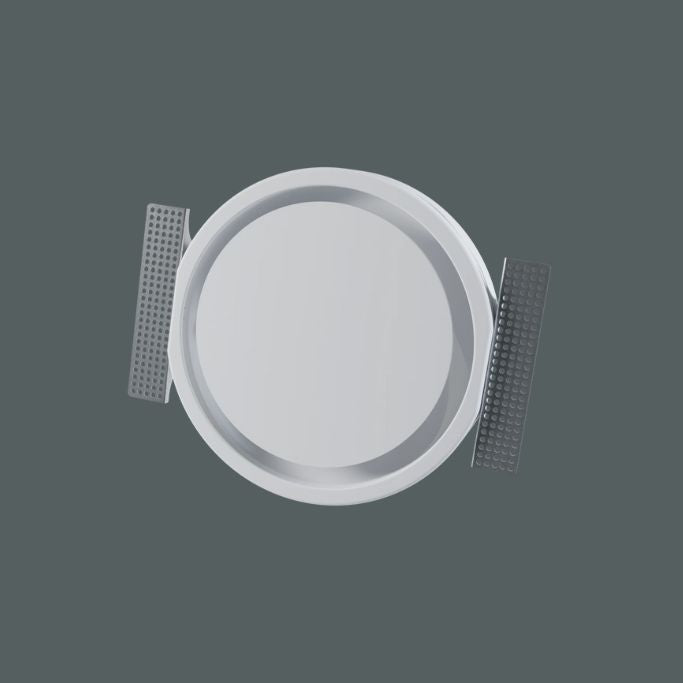
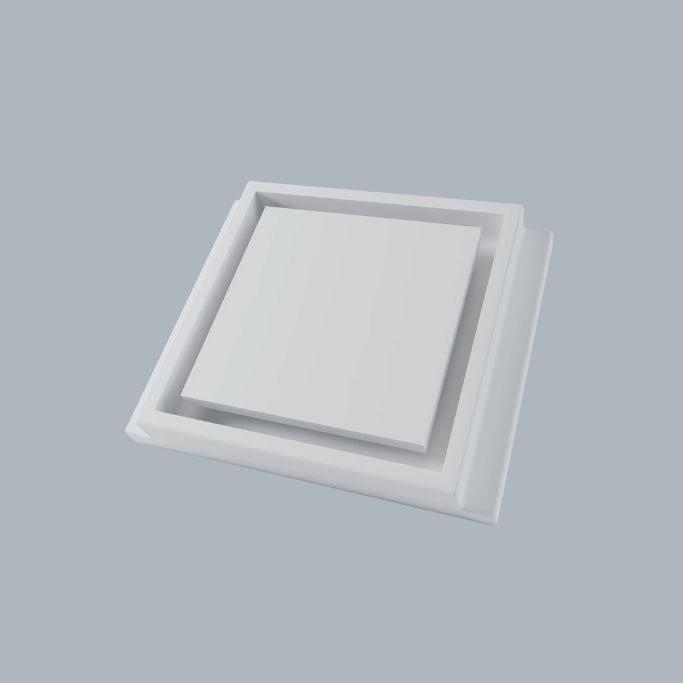


Discover how Ventmann solutions can be integrated into your design.

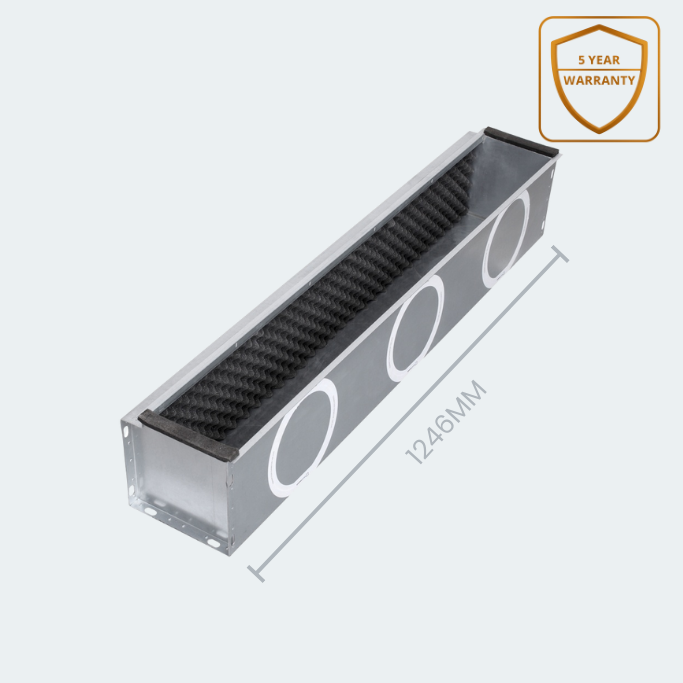
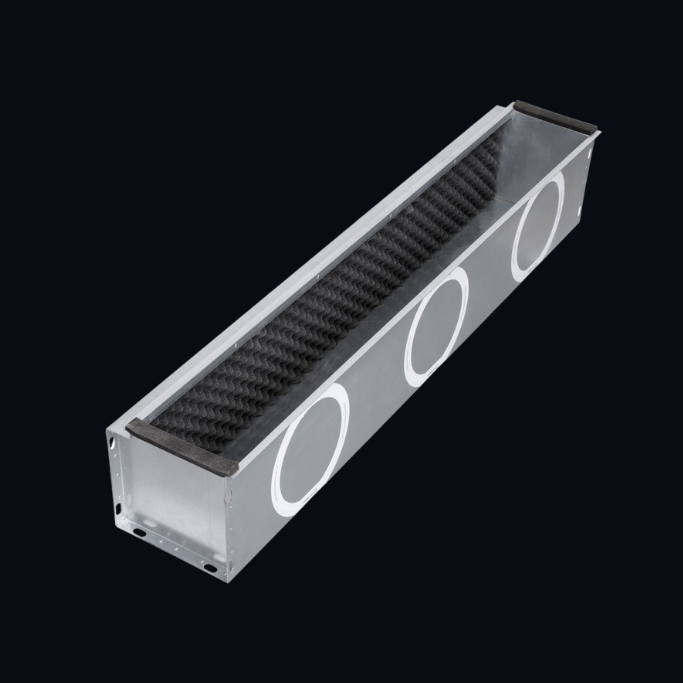
VENTMANN ACOUSTIC BOX - INVISIBLE HVAC INTEGRATION
INNOVATIVE DESIGN
- Seamless & Quiet Performance
Integrates effortlessly with Ventmann linear slot diffusers, ensuring even airflow while the foam insert reduces noise for a discreet, comfortable indoor environment. - Easy, Flexible Installation
Features pre-scored knock-outs (75mm, 125mm, 160mm) for quick spigot attachment, allowing installers to fit the box efficiently without compromising design or performance. - Perfect Fit for Any Space
Available in multiple lengths (625mm, 1000mm, 1250mm) and width codes (A, B, C) to match your diffuser setup, providing an invisible HVAC solution that blends into any interior.
ABOUT VENTMANN ACOUSTIC BOX
- Optimized Airflow & Noise Reduction
Designed for use with Ventmann linear slot diffusers, the Acoustic Box ensures even air velocity across the diffuser face while the integrated foam insert minimizes airflow noise for a quieter, more comfortable environment. - Flexible Installation
Comes with three pre-scored knock-outs (75mm, 125mm, 160mm) for easy spigot attachment. Installers can quickly secure spigots (supplied separately) with tech screws, making setup fast and adaptable. - Variety of Sizes & Codes
Available in lengths of 625mm, 1000mm, or 1250mm and width codes A, B, or C, matching perfectly with Ventmann linear diffusers to ensure seamless integration and optimal performance.
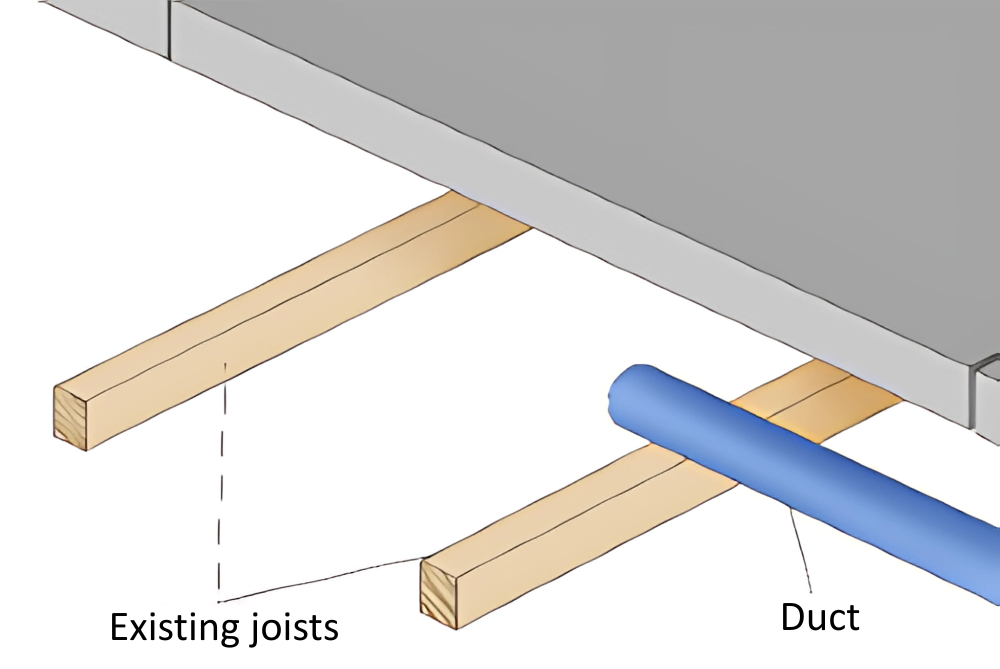
Step 1
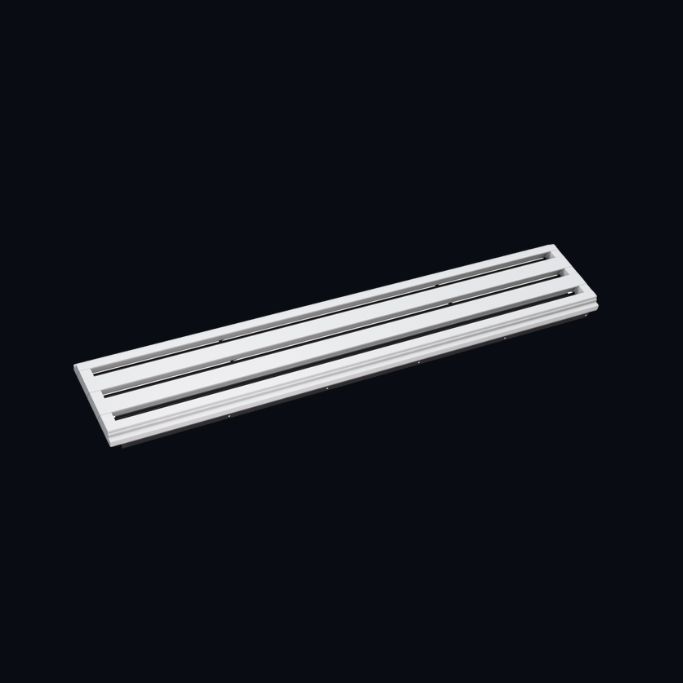
Line Diffuser Installation Instructions
Pre-position the ventilation duct in the ceiling
void, above, through, or alongside the ceiling
joists. If required, purchase reducer(s) to suit
the size of duct and spigots (by others).

Step 2
Fit temporary batons with plasterboard
spacers that are the same thickness as the
final ceiling plasterboard sheet. Where metal
plasterboard rails are employed, suitable self
tapping screws will be required.
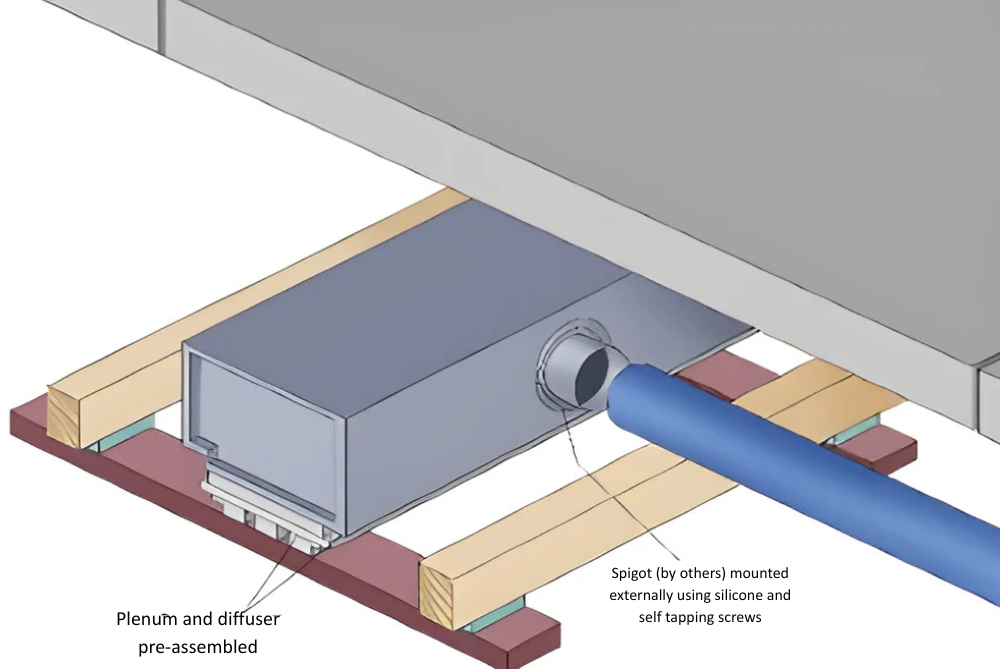
Step 3
Fit pre-assembled* diffuser, plenum box and
spigot(s) on top of temporary batons. Note
that spigot (by others) is surface mounted on
plenum using self-tapping screws and
silicone.
*Using screws provided
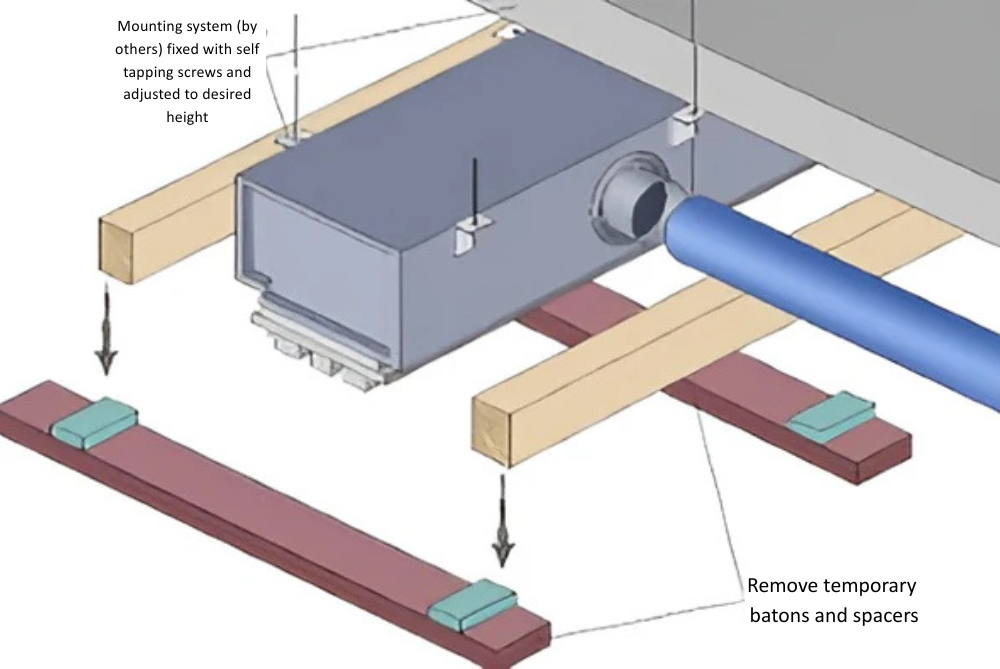
Step 4
Fix plenum to upper surface using proprietary
fixings (Unistrut etc) (by others). Fix to
plenum with self-tapping screws. Adjust
height of the plenum so that the face of the
diffuser just touches the top of the batons.

Step 5
Remove temporary batons and plasterboard
spacers. Measure and cut the hole in the
main plasterboard sheet. Lift the
plasterboard sheet to meet the diffuser and
fix in place as normal using plasterboard
screws.
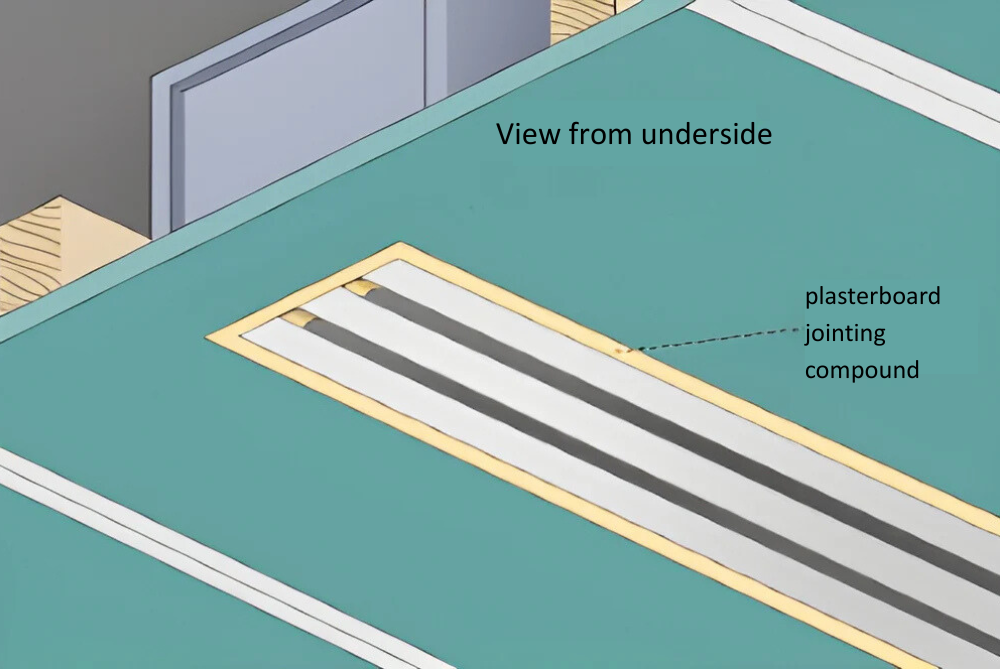
Step 6
From the underside, use a jointing compound
to fill the gap between diffuser and
plasterboard. If required, move magnetic
blocks to desired length and fix in place using
jointing compound. Sand and paint.
Related Blog Posts

Ventmann UK to Exhibit at London Build Expo 2025 – The UK’s Largest Construction Show
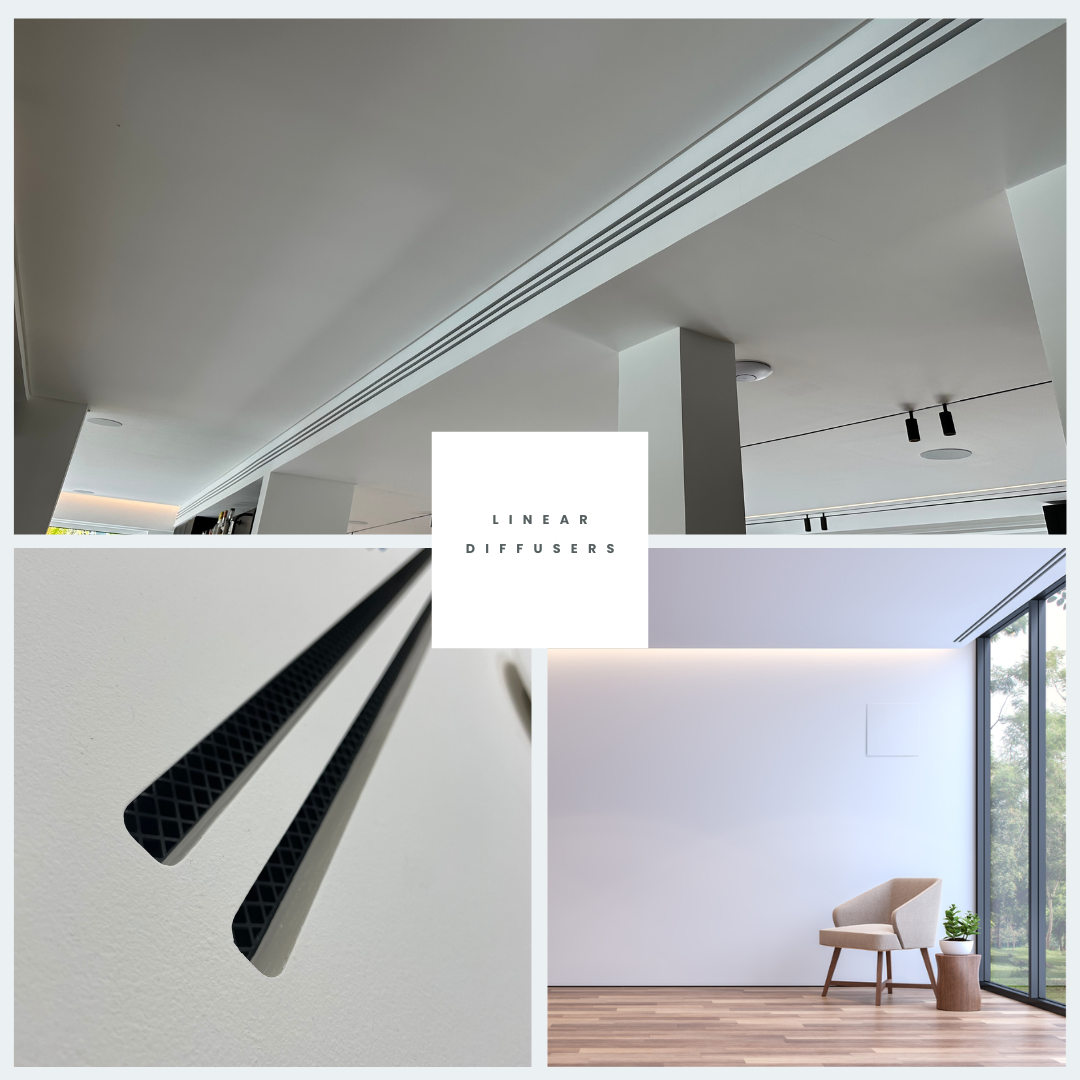
What Is a Linear Diffuser? Everything You Need to Know
In modern interior design and HVAC (Heating, Ventilation, and Air Conditioning) systems, linear diffusers have emerged as a go-to solution for spaces that demand both style and functionality.

Air Ventilation Grilles: Elegant Design Meets Engineering Performance
In today’s built environments, maintaining excellent indoor air quality is essential for health, comfort and regulatory compliance.