


Related Blog Posts

Ventmann UK at InstallerSHOW 2026 – Visit Us at Stand 5H98
Ventmann UK is excited to announce that we will be exhibiting at InstallerSHOW 2026, taking place from 23–25 June 2026 at the NEC Birmingham. InstallerSHOW is one of the UK’s ...
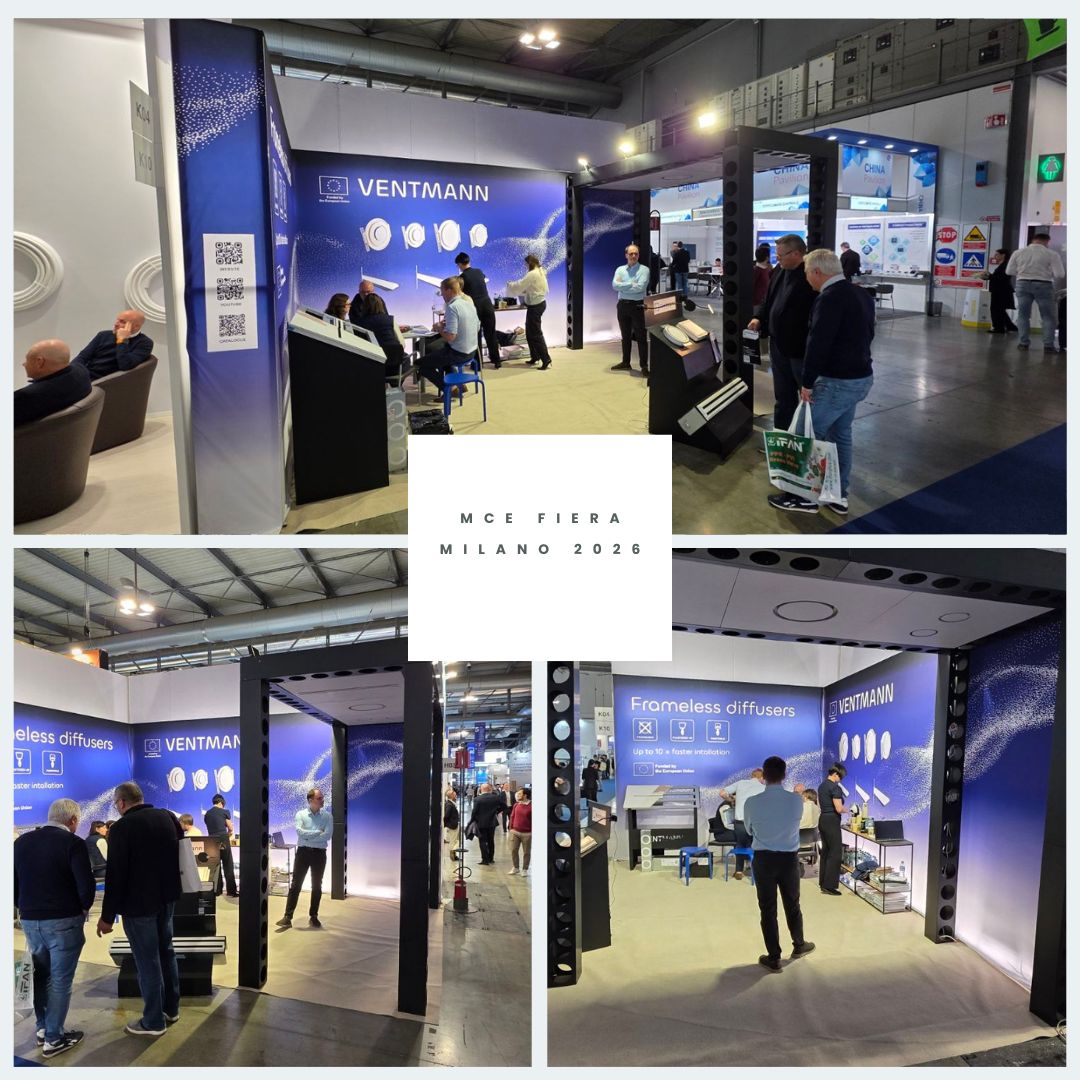
Ventmann at MCE Fiera Milano 2026 — A Successful Showcase of Innovation and Architectural Air Distribution
Ventmann proudly participated in MCE Fiera Milano 2026, one of the most important international trade shows for the HVAC+R, renewable energy, and water industries...

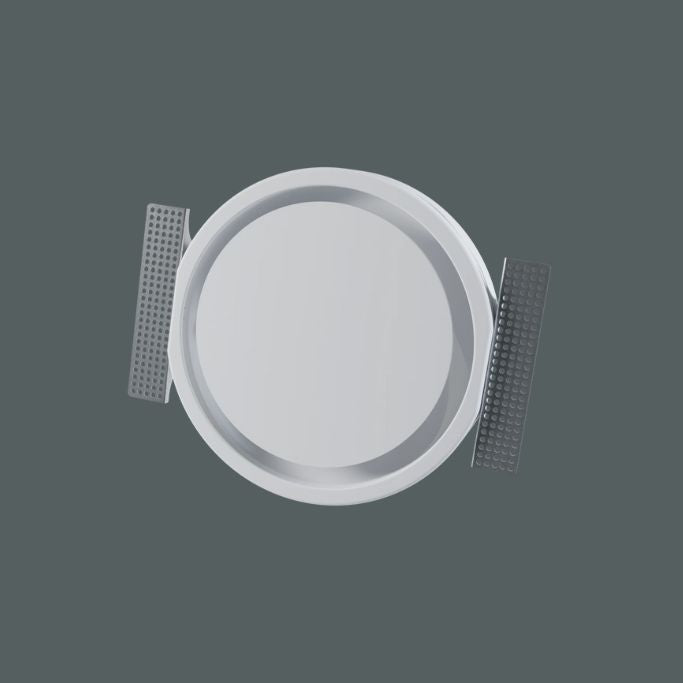
Ventmann Architectural Circle Diffusers: Seamless Design Meets Exceptional Performance
In modern building design, aesthetics and functionality no longer exist as separate entities. Architects, contractors, and developers are increasingly seeking solutions that not only perform efficiently ...