


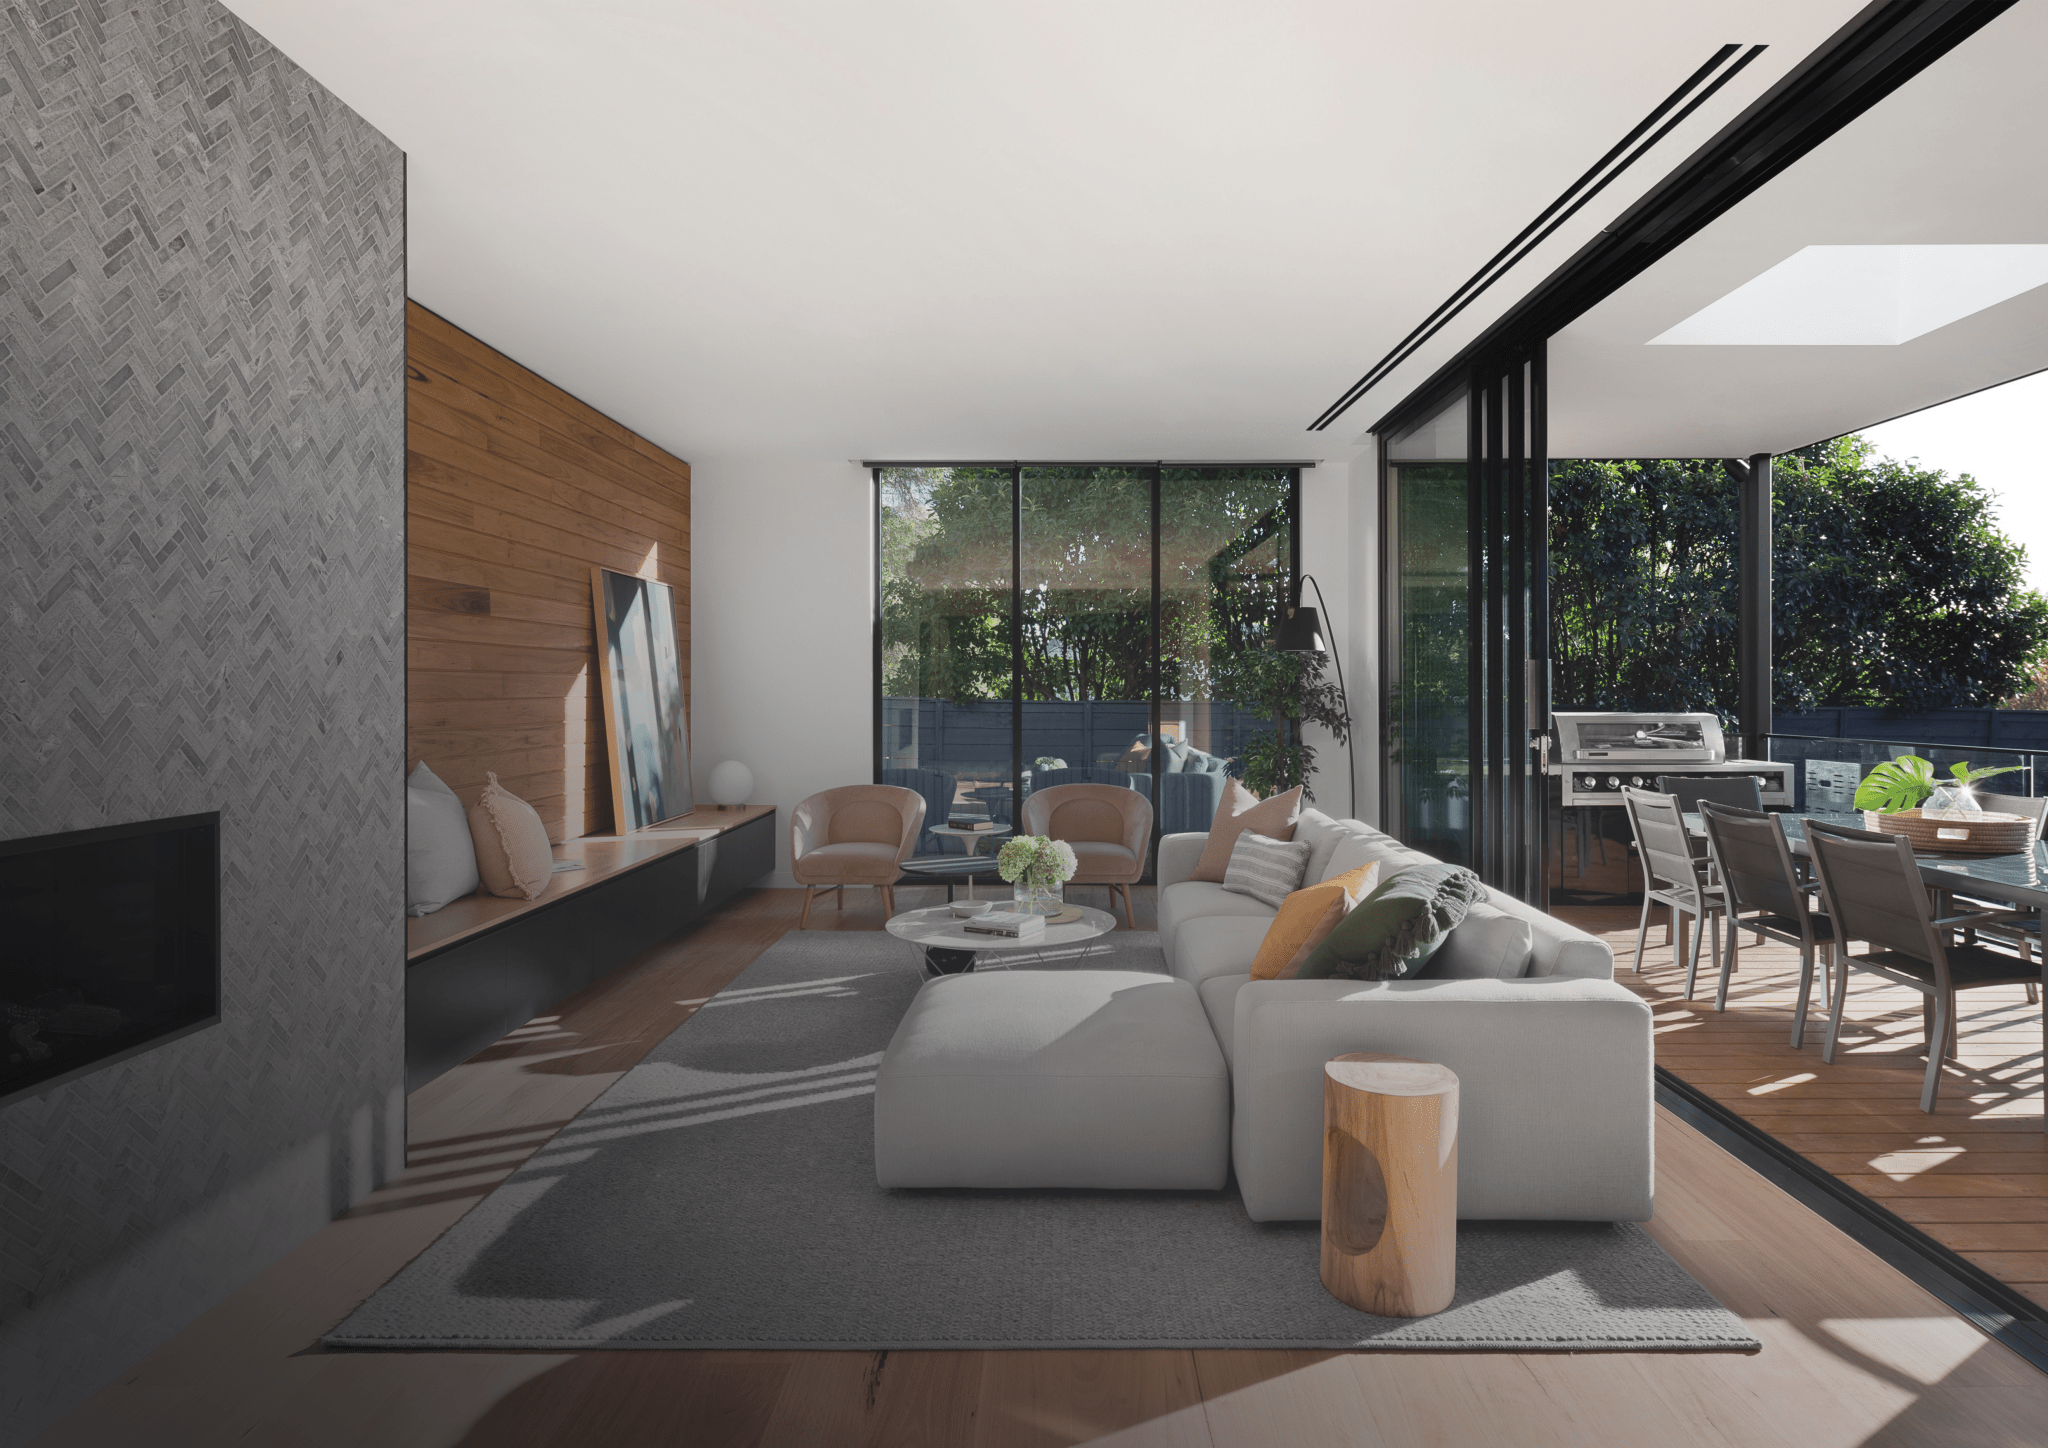

Discover how Ventmann solutions can be integrated into your design.

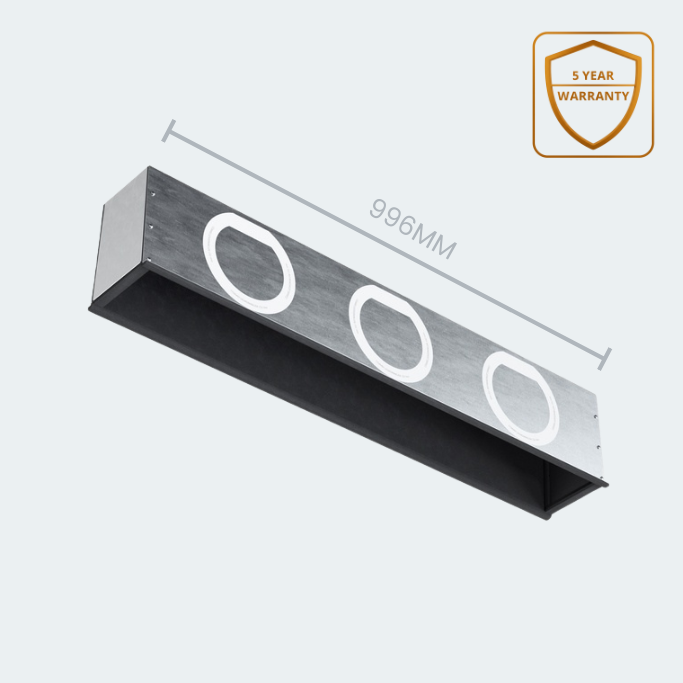
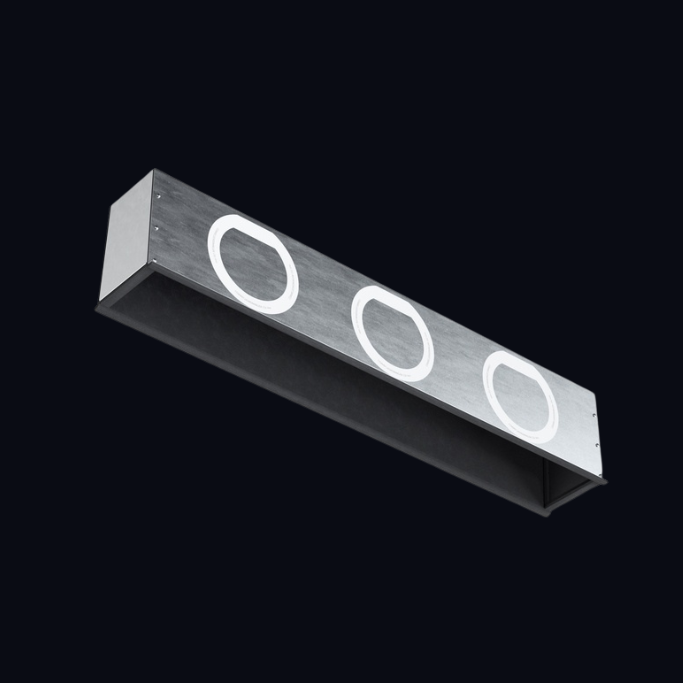
VENTMANN THERMO BOX - INVISIBLE HVAC INTEGRATION
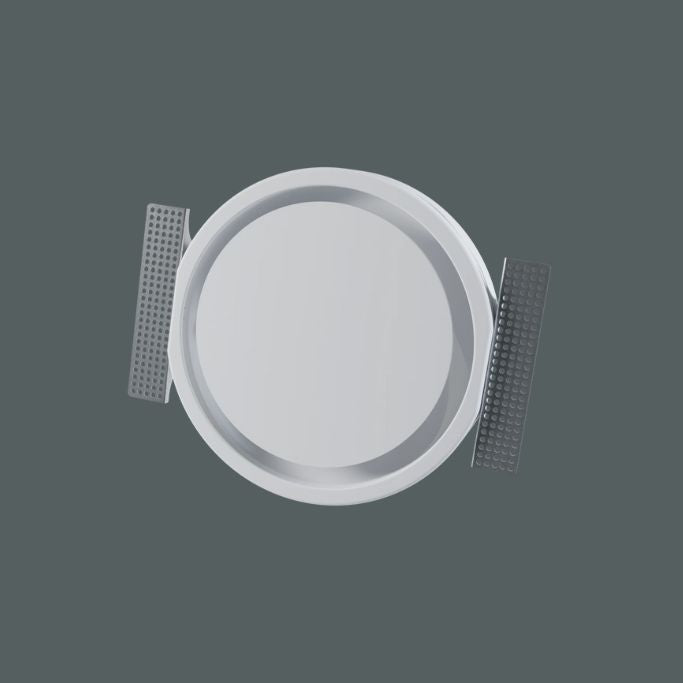
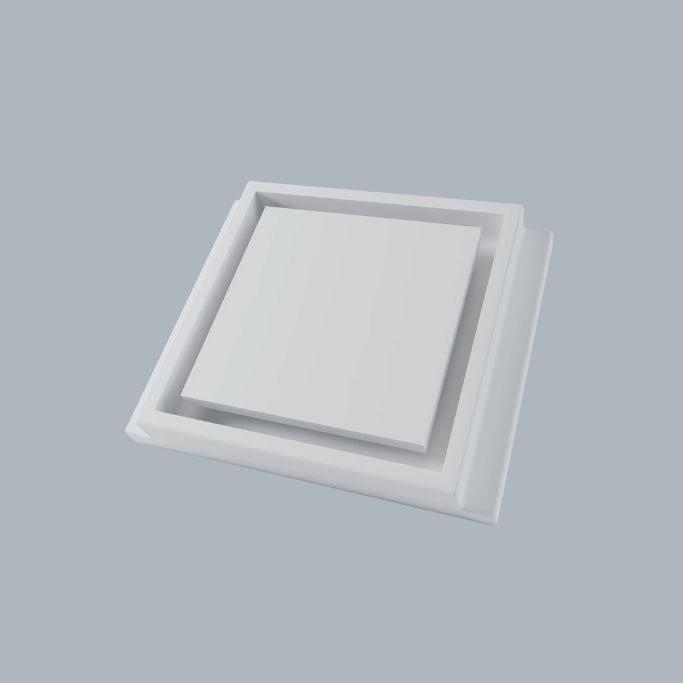
INNOVATIVE DESIGN
- Seamless Architectural Integration – The Ventmann Thermo Box is designed to work perfectly with our frameless gypsum diffusers, ensuring your HVAC system remains virtually invisible while maintaining a sleek, modern interior finish.
- Compatible with Minimalist Designs – Whether paired with linear, circular, or square diffusers, Thermo Boxes support near-invisible installations in plasterboard walls or ceilings, ideal for residential and commercial spaces requiring a refined architectural look.
- Enhanced Performance & Design – Built to complement Ventmann diffusers, Thermo Boxes ensure optimal airflow, noise reduction, and energy efficiency, all while preserving the aesthetic integrity of your space.
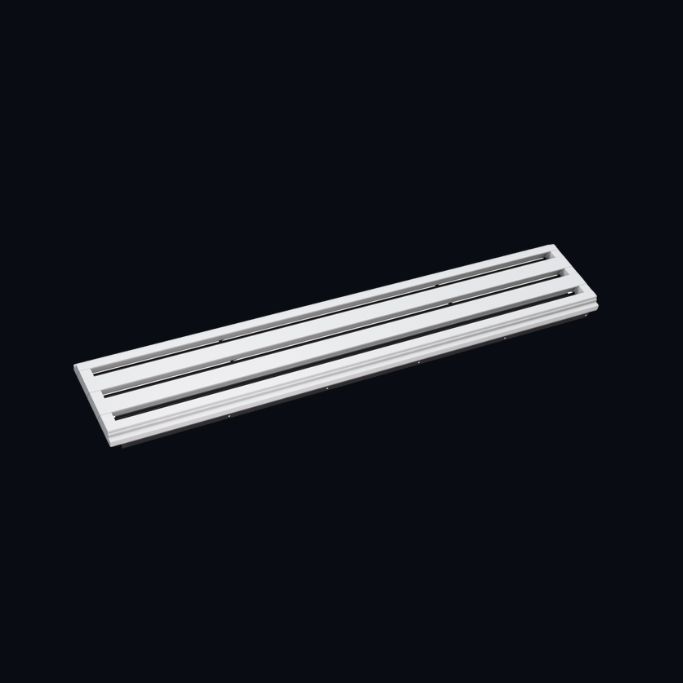
ABOUT VENTMANN THERMO BOX
- Flat-Packed & Easy to Assemble – Ventmann Thermo Boxes arrive flat-packed for convenient transport and storage. Quick assembly on site with the included screws and SQ2 bit makes installation simple and efficient.
- Versatile & Customisable – Designed with pre-scored knock-outs (125mm, 160mm, 200mm) for easy adaptation to your ducting needs. Compatible with standard ducting spigots for a secure, sealed connection.
- Perfect Fit for Linear Diffusers – Available in three lengths (625mm, 1000mm, 1250mm) and width codes A, B, C to match Ventmann slot diffusers, ensuring optimal airflow and performance.
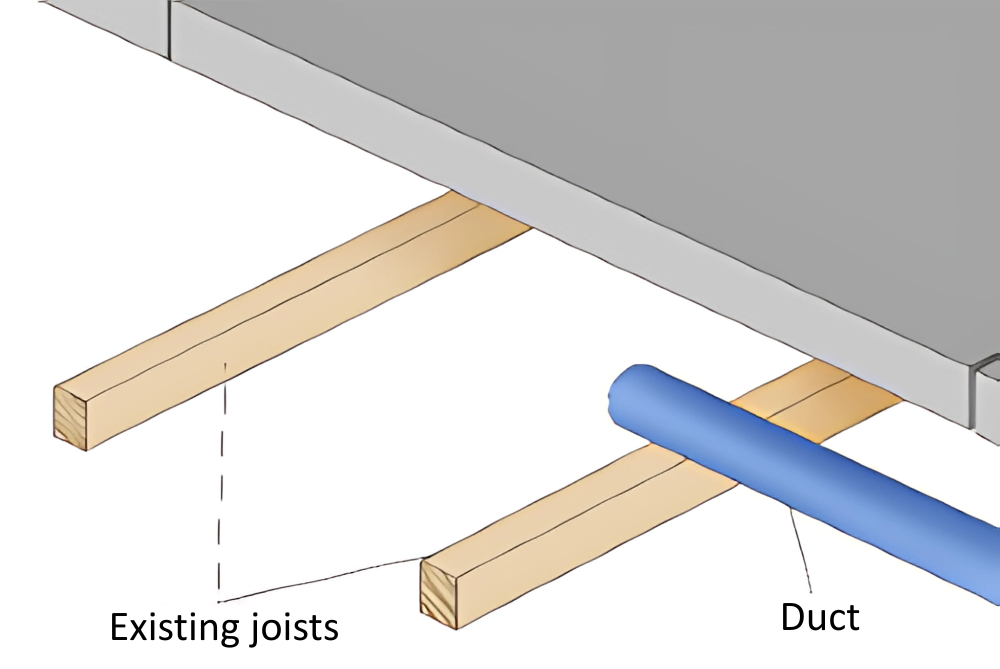
Step 1
Line Diffuser Installation Instructions
Pre-position the ventilation duct in the ceiling
void, above, through, or alongside the ceiling
joists. If required, purchase reducer(s) to suit
the size of duct and spigots (by others).

Step 2
Fit temporary batons with plasterboard
spacers that are the same thickness as the
final ceiling plasterboard sheet. Where metal
plasterboard rails are employed, suitable self
tapping screws will be required.
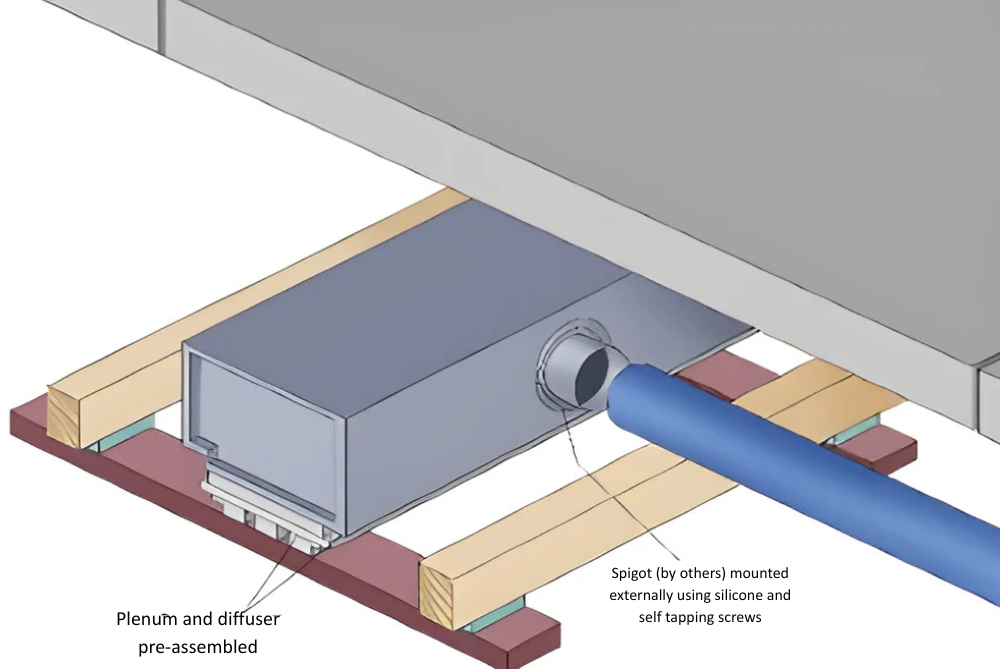
Step 3
Fit pre-assembled* diffuser, plenum box and
spigot(s) on top of temporary batons. Note
that spigot (by others) is surface mounted on
plenum using self-tapping screws and
silicone.
*Using screws provided
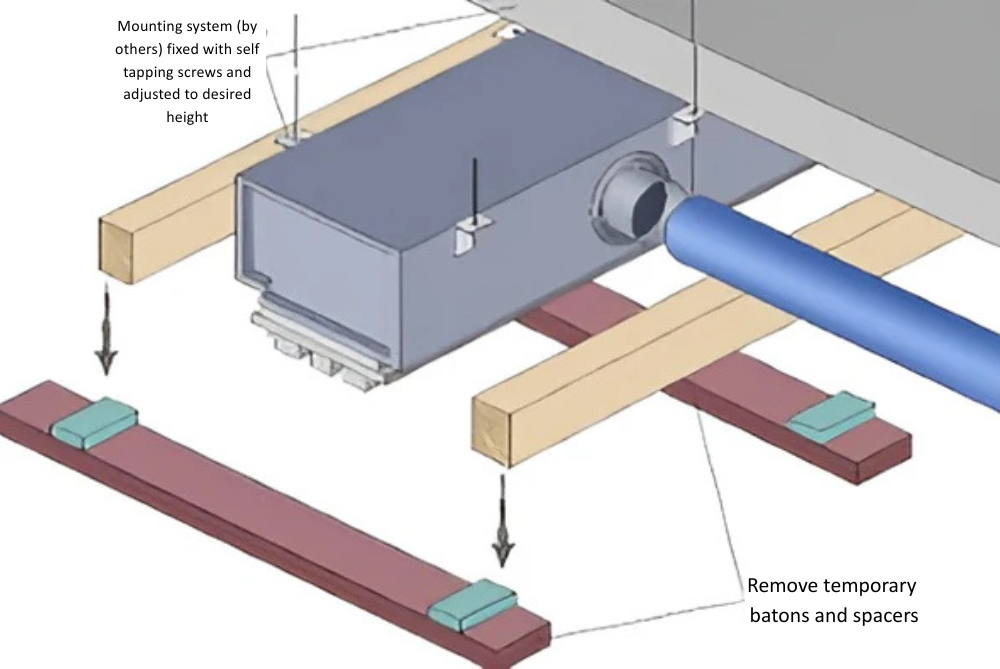
Step 4
Fix plenum to upper surface using proprietary
fixings (Unistrut etc) (by others). Fix to
plenum with self-tapping screws. Adjust
height of the plenum so that the face of the
diffuser just touches the top of the batons.

Step 5
Remove temporary batons and plasterboard
spacers. Measure and cut the hole in the
main plasterboard sheet. Lift the
plasterboard sheet to meet the diffuser and
fix in place as normal using plasterboard
screws.
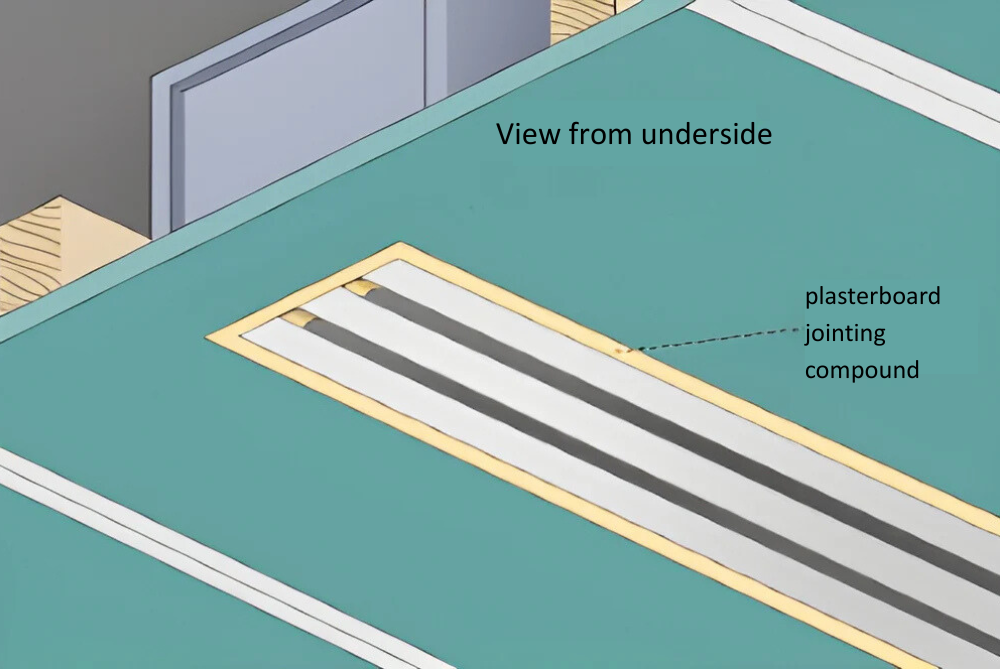
Step 6
From the underside, use a jointing compound
to fill the gap between diffuser and
plasterboard. If required, move magnetic
blocks to desired length and fix in place using
jointing compound. Sand and paint.
Related Blog Posts

Ventmann UK at InstallerSHOW 2026 – Visit Us at Stand 5H98
Ventmann UK is excited to announce that we will be exhibiting at InstallerSHOW 2026, taking place from 23–25 June 2026 at the NEC Birmingham. InstallerSHOW is one of the UK’s ...
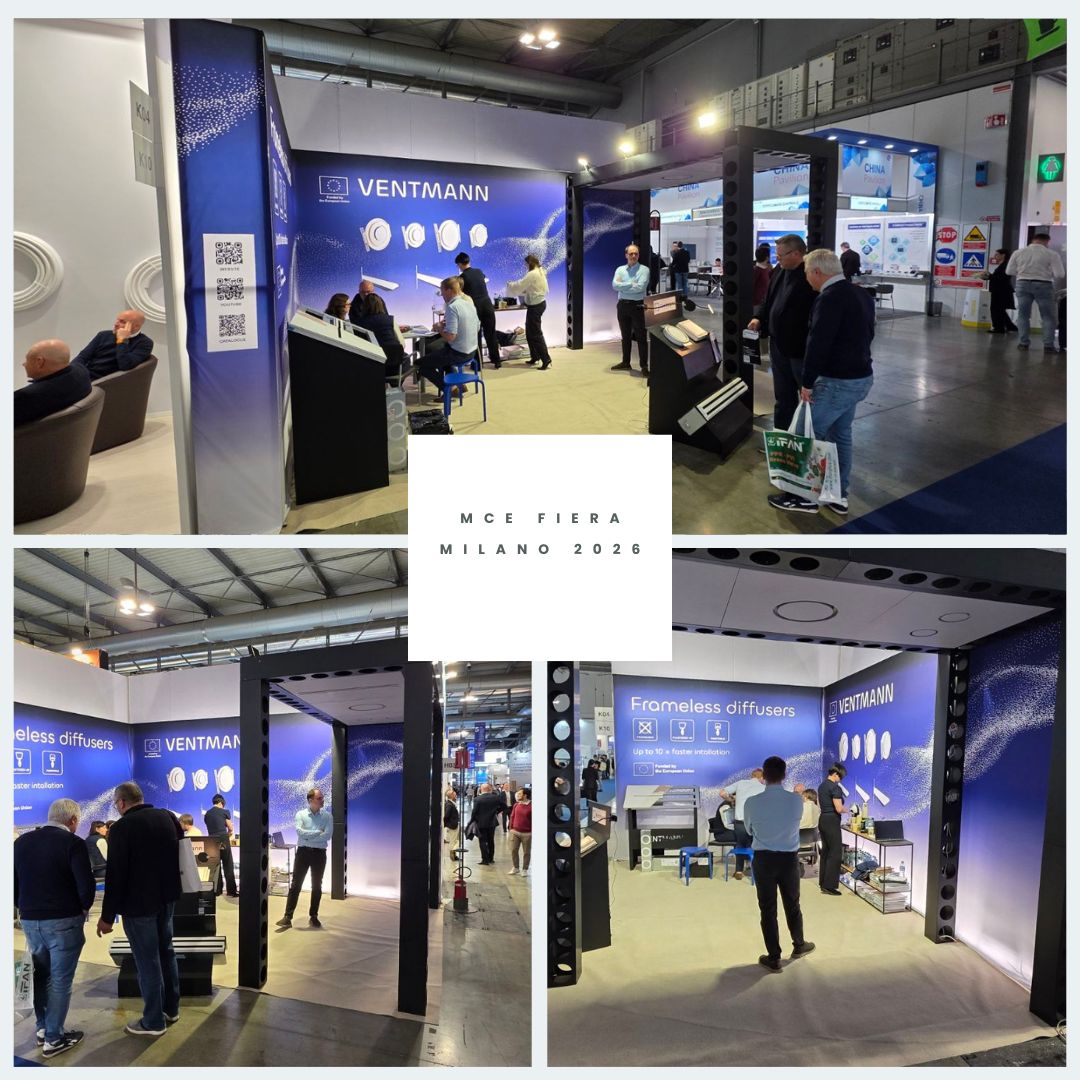
Ventmann at MCE Fiera Milano 2026 — A Successful Showcase of Innovation and Architectural Air Distribution
Ventmann proudly participated in MCE Fiera Milano 2026, one of the most important international trade shows for the HVAC+R, renewable energy, and water industries...

Ventmann Architectural Circle Diffusers: Seamless Design Meets Exceptional Performance
In modern building design, aesthetics and functionality no longer exist as separate entities. Architects, contractors, and developers are increasingly seeking solutions that not only perform efficiently ...