

Plaster-In Vents: The Complete Guide to Frameless Gypsum Air Vents
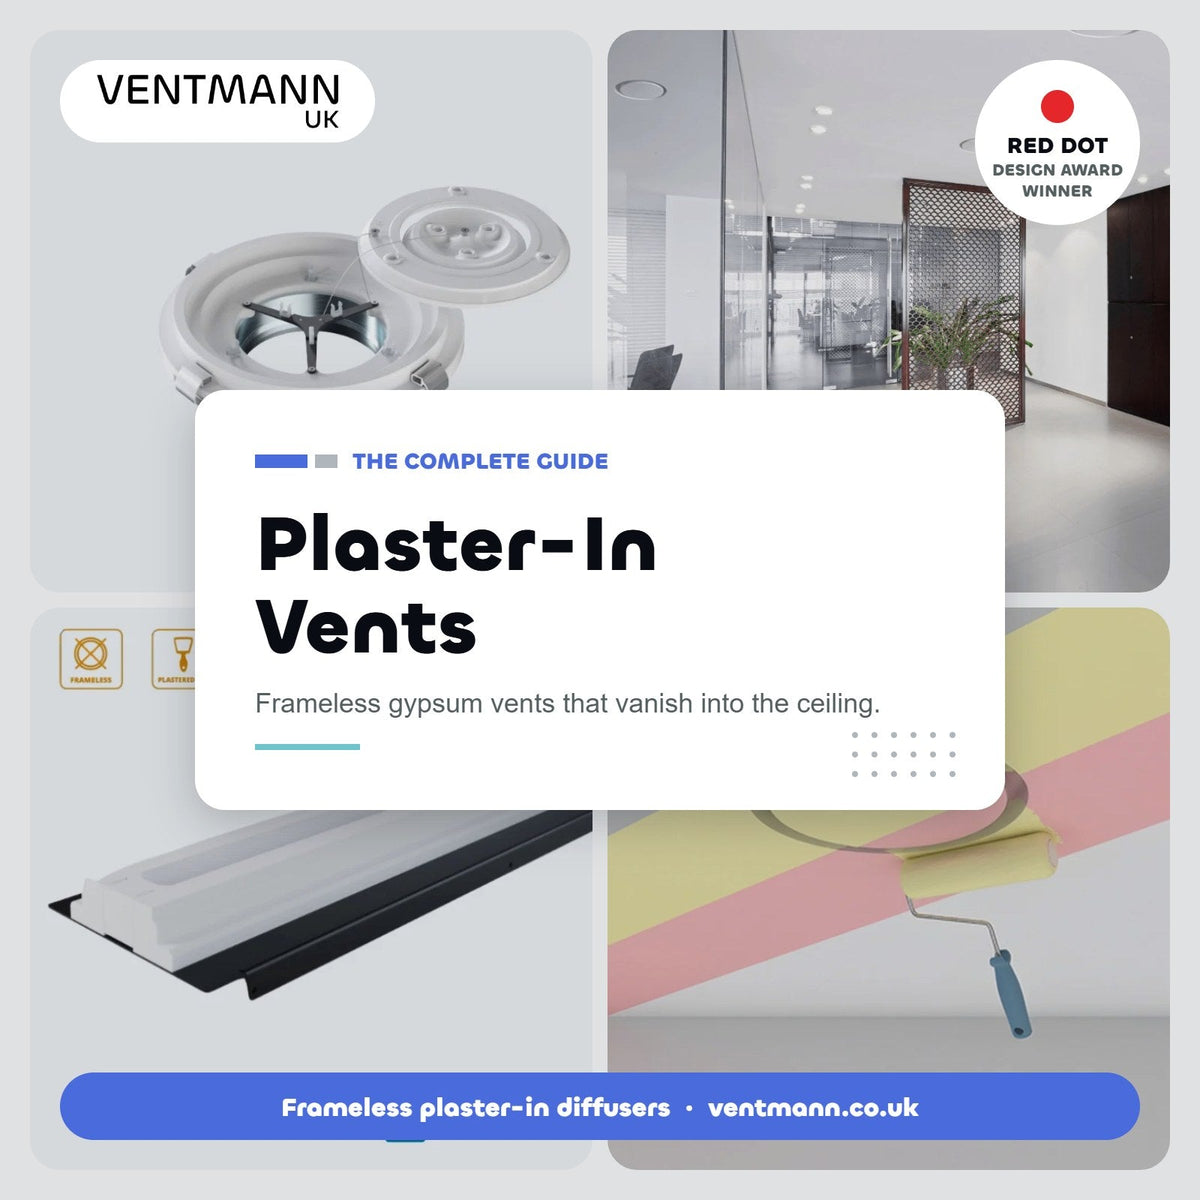
A plaster-in vent is the ventilation equivalent of a shadow-gap skirting or a trimless downlight: a detail designed to vanish. Instead of a grille fixed to the ceiling, the vent is built into the plaster itself — skimmed, sanded and painted until only the airway is left. This guide covers what plaster-in vents are, where they work, and how to install them so the finish is perfect.
What is a plaster-in vent?
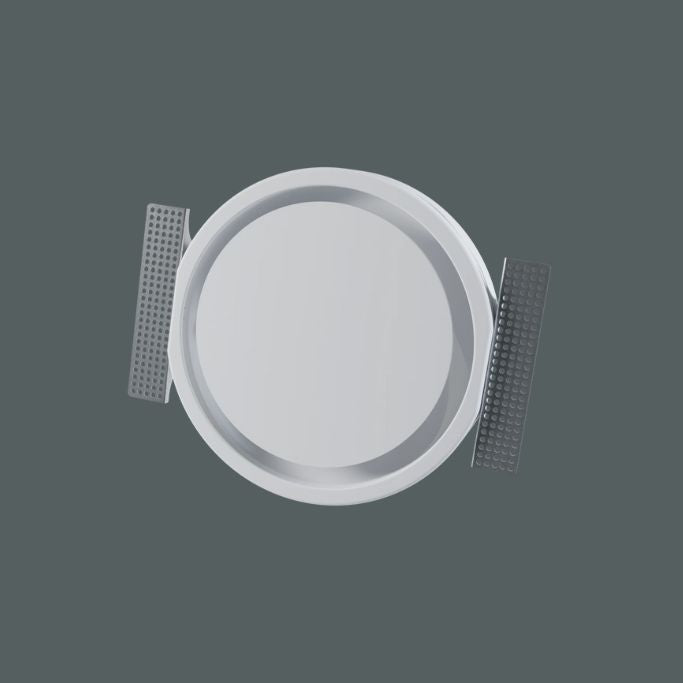
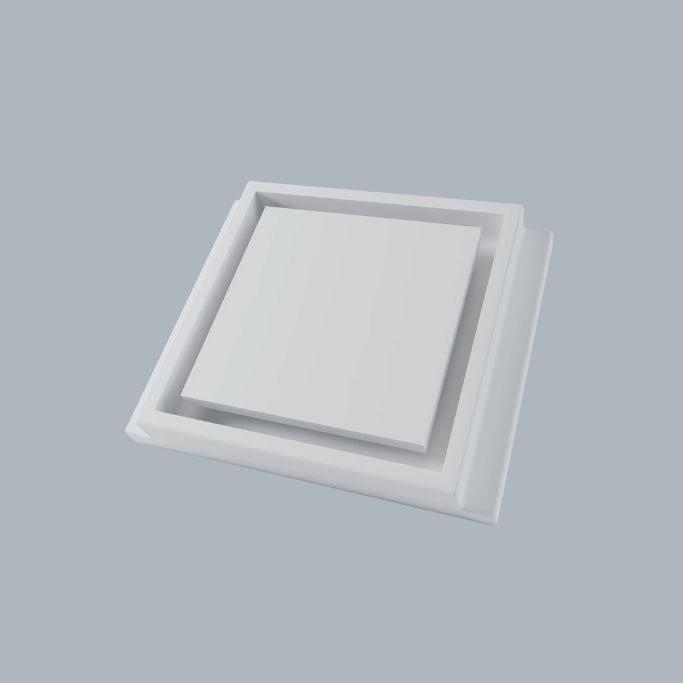
A plaster-in vent — also called a plastered-in vent, trimless vent or frameless diffuser — is an air terminal with no visible frame. Its face sits flush with the finished wall or ceiling, and its edges are joined to the surrounding plasterboard with jointing compound, just like a board joint. Once painted, the vent reads as part of the surface.
The best plaster-in vents are made from gypsum — the same material as the plasterboard around them. That matters: matching materials respond the same way to temperature and humidity, take the same filler and paint, and don't leave the hairline crack that can open around a plastic or metal frame.
Where plaster-in vents work
- MVHR supply and extract — the most common use: one terminal per room, in the ceiling or wall. New to MVHR? Start with MVHR explained.
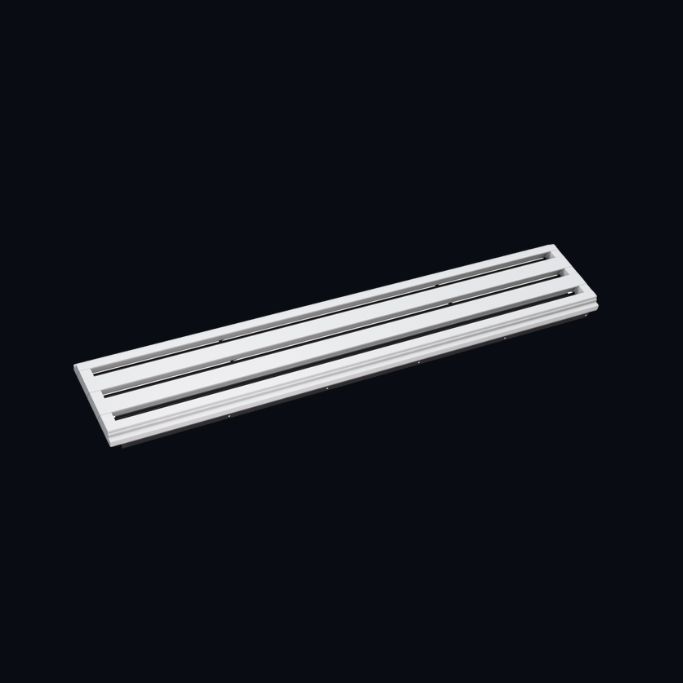
- Ducted air conditioning — linear slots spread conditioned air evenly along a ceiling or bulkhead.
- Mechanical extract — kitchens, bathrooms and utility rooms.
- Feature walls and bulkheads — side-wall vents keep a ceiling completely clear.
- Commercial interiors — hotels, offices, retail and healthcare, where the ceiling is part of the design language. See our commercial solutions.
How a plaster-in vent is installed
Installation slots into the normal drylining sequence — no specialist trade, just a careful plasterer. The outline for a circular vent:
- First fix the duct run and mounting position before boarding, so the vent lands exactly where the airflow plan says.
- Cut the board opening about 1 cm larger than the vent's outer diameter — enough to fit and joint, not so much that it needs bulk filling.
- Set the vent face 0.1–1 mm below the board surface, ready to take the skim.
- Secure it with the click-mounting foam and connect the safety wire to the centre cap.
- Joint, skim and sand the perimeter flush, exactly as you would a board joint.
- Paint with the ceiling, keeping paint out of the airway slots.
Six mistakes that spoil the finish
- Cutting the hole too big — large gaps need bulk filling, which shrinks and cracks.
- Setting the face proud — a vent above the board line can't be skimmed flat. Set it just below.
- Skipping tape or mesh on wider joints — treat the perimeter like any other board joint.
- Painting the slots shut — mask the airway when decorating, and check it after every repaint.
- Blocking access — keep the removable centre cap free for cleaning and commissioning.
- Positioning by eye — size and place terminals from airflow calculations, not just symmetry on the ceiling plan.
Finishing: any colour, any surface
Because the face is gypsum, a plaster-in vent takes the same primers, emulsions and spray finishes as the ceiling. White-on-white is the classic, but it works just as well in dark or feature colours — the vent simply becomes whatever the surface is. In bathrooms and kitchens, finish it with the same moisture-resistant paint you use on the ceiling.
Plaster-in vs surface-mounted
| Surface-mounted valve or grille | Plaster-in vent | |
|---|---|---|
| Appearance | Visible ring, dome or grille | Only the slot remains |
| When fitted | After decorating | During drylining, before skim |
| Material | Plastic or metal | Gypsum, matching the board |
| Colour | Fixed, or sprayed separately | Painted with the ceiling |
| Access | Removable valve | Removable centre cap |
For MVHR-specific detail — duct sizes, airflow and Passivhaus use — see our page on frameless plaster-in ceiling diffusers for MVHR.
Quick answers
Can plaster-in vents be retrofitted?
Yes, where you can reach the ceiling void to run duct and are happy to make good and redecorate around the opening. They're easiest during a renovation or new build.
Do plaster-in vents crack?
A gypsum vent jointed like plasterboard behaves like the ceiling around it. Cracks almost always come from oversized openings and bulk filling, which is why the cut size matters.
How do you clean them?
Vacuum or wipe the slots during routine cleaning. On the Performance Circle the centre cap clicks out for deeper cleaning and airflow commissioning.
Ready to make the vents disappear?
Send us your plans and we'll size every terminal on the system — free airflow calculations, published technical data, Revit BIM objects and frameless gypsum diffusers delivered next-day across the UK.
Get Free Airflow Calculations Open the Product Selector
Call 01283 240025 · Email sales@ventmann.co.uk