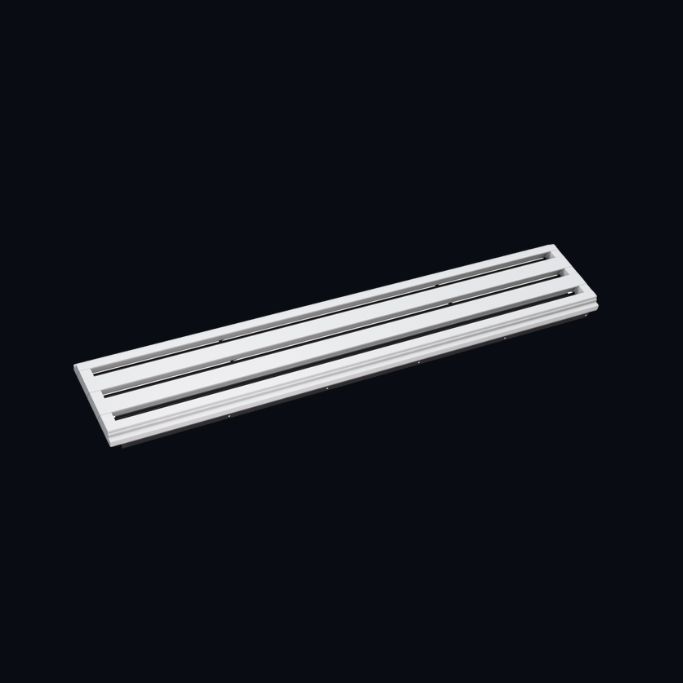


Painting and Decorating Around Gypsum Diffusers: A Decorator's Guide

If you have been handed a room with gypsum diffusers in the ceiling and nobody has told you what they are, this is for you. The good news: they are plaster, and you already know how to paint plaster. The bad news: there are four ways to ruin one with a paintbrush, and all four are easy to avoid if somebody mentions them first. Nobody usually does.
The four rules
1. Never let filler or paint bridge the slot.
2. Keep the edge of the slot sharp — do not round it off when sanding.
3. Thin coats. Every coat narrows the aperture.
4. Mask the opening before you start, not after you notice.
What you are actually looking at
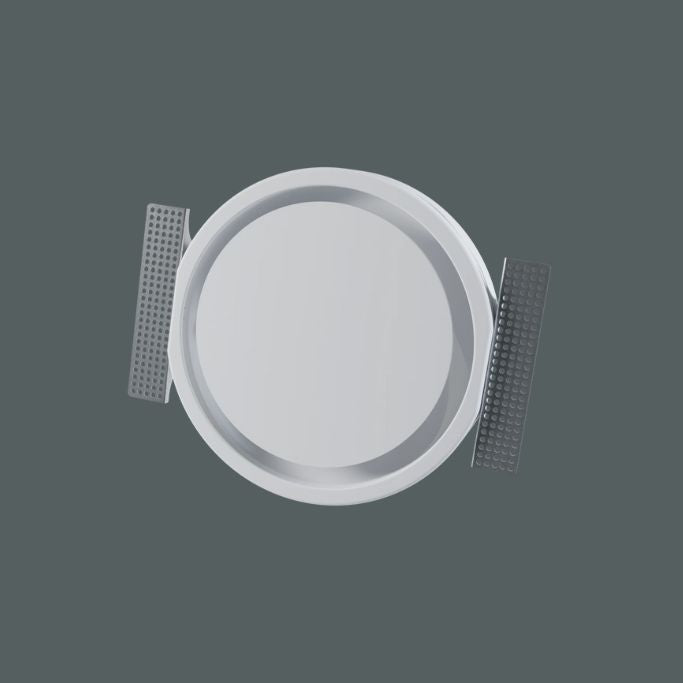
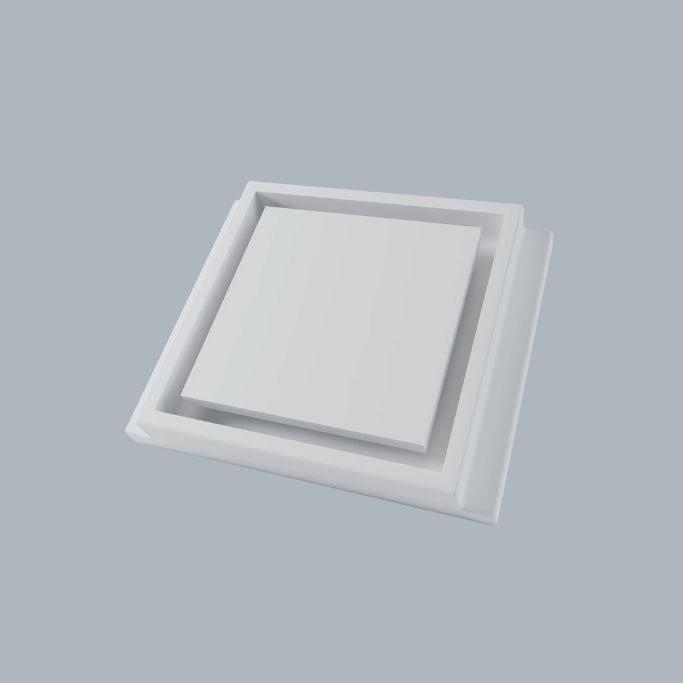
A Ventmann gypsum diffuser is an air outlet made from a gypsum composite rather than metal or plastic. It is set into the ceiling or wall so that its face sits flush with the plasterboard, and the gap between the two is filled with ordinary jointing compound. The point of the whole exercise is that once you have finished with it, nobody can tell it is there — they see a slot, or a ring, in an otherwise unbroken painted surface.
Which means the decoration is not an afterthought. It is the product. A beautifully installed diffuser with a clumsy paint line looks worse than a cheap metal grille, because the eye has nothing else to blame.
The substrate takes paint the same way skimmed plasterboard does. It is designed to absorb water well, take jointing compound, sand smooth and hold a decorative finish. You do not need a special primer, a special paint or a special technique. You need to not fill the hole.
Before you open a tin: check what you have
There are two types on site and they are handled differently.
| Plastered-in diffusers | Magnetic frameless grilles | |
|---|---|---|
| Which products | Line, Performance Line, Performance Circle, Square | Art frameless grilles |
| Can it come off? | No — it is jointed into the board | Yes — lift it off the magnets |
| Best approach | Mask the aperture, paint in situ with the wall | Take it off, paint it flat on a bench, refit when dry |
If it lifts off, take it off. Painting a frameless grille on a bench, face up, with the surrounding wall painted separately, is faster and gives a better result than any amount of careful cutting in. Mark which way up it goes before you remove it.
Stage 1 — Filling and jointing the perimeter
Usually the plasterer's job, but it is often left for the decorator, so here it is.
The gap between the diffuser body and the plasterboard is filled with standard proprietary jointing compound, worked from the underside, exactly as you would treat a board joint. Scrim or tape the junction if the gap is more than a hairline. Build it in two or three thin passes rather than one thick one — a single heavy fill shrinks, cracks, and telegraphs a line around the diffuser forever afterwards.
On Line and Performance Line diffusers there are magnetic end blocks that set the finished length of the slot. If the design calls for a shorter visible slot than the diffuser body, slide the blocks to the required position and fix them with jointing compound before you fill the perimeter. Get this agreed before you start — moving them after the compound has set means cutting them out.
The one that costs money: compound dropping into the slot and setting on the deflector inside. It is almost impossible to get out cleanly once cured, and it changes the air pattern. Push a length of foam backer rod, a folded card strip or a run of low-tack tape into the aperture before you start filling, and leave it in until the perimeter is sanded.
Stage 2 — Sanding
Sand the filled perimeter flat with the surrounding board. 120 grit for the knock-back, 180–240 to finish. A sanding block, not fingers — fingers follow the hollow and leave a dish you will see under a wall light.
Then the rule that matters: do not sand the slot edge. The crispness of that arris is what makes the diffuser read as a shadow gap rather than a hole. Round it over and you lose the detail the client paid for, and no amount of paint puts it back. Work parallel to the slot, keep the block flat, and stop short of the edge by a few millimetres.
Vacuum rather than brush. Gypsum dust that falls into the slot ends up in the plenum and comes out of the diffuser the first time the system runs.
Stage 3 — Masking
Five minutes here saves an hour later.
- Slot diffusers: run low-tack tape along the inside of the slot so the tape edge sits just below the face, not flush with it. Taping flush leaves a visible unpainted line when you pull it; sitting it a millimetre or two back means the paint wraps the arris and the edge stays crisp.
- Circle and square diffusers: a disc or square of masking card cut slightly oversize, pushed into the aperture, is faster and cleaner than tape.
- If you are spraying: mask the full plenum opening, not just the visible face. Overspray travels and settles on the back of the deflector where you cannot reach it.
- Remove tape while the final coat is still slightly wet — emulsion that has fully cured tears at the edge instead of cutting.
Stage 4 — Paint
What to use
Whatever you are putting on the rest of the surface. Contract matt, trade vinyl matt, eggshell, a premium flat — the gypsum takes them all. Start with a thinned mist coat as you would on new plaster, then two full coats.
What to avoid: textured coatings, heavy-bodied one-coat products, and anything that builds thickness quickly. They clog the aperture, bury the arris and leave a soft, blurred edge.
Brush and roller
Use a short-nap roller and keep it lightly loaded near the diffuser. The failure mode is simple: a heavy roller pushes a bead of paint ahead of itself, the bead reaches the slot, and it runs in. Roll away from the diffuser rather than across it.
For the last 100 mm, lay off with an almost-dry brush worked parallel to the slot. Never stipple into it.
Spraying
Spray gives the best finish on these by some distance — no roller stipple, no brush marks, and an even film right up to the edge. It is also the method most likely to wreck one, because overspray goes where you are not looking. Mask the whole opening, keep the gun moving, and resist the temptation to build the film in one pass.
How many coats is too many
On a 12 mm slot, paint build-up is real arithmetic. Two coats of emulsion on both faces of the slot take out a few tenths of a millimetre — negligible. Six or seven coats, accumulated over repaints across a decade, start to show as a visibly narrower, softer-edged slot and a measurable change in free area. Two thin coats now, and a light rub-down before any future repaint, is the right discipline.
Colour: gypsum diffusers are supplied white and are designed to be painted any colour. In a dark scheme, paint the inside face of the slot the same dark colour as the surface — it deepens the shadow gap and is the difference between a detail and a hole. Cut the inside of the aperture in by hand before you mask.
Stage 5 — Before you hand over
- Pull all masking and check the slot is clear end to end — sight along it, do not just glance at it.
- Check the arris is sharp and unbroken for the full length.
- Check no compound or paint has set on the deflector inside.
- Refit any magnetic faces you removed, the right way up.
- Let the paint cure properly before the system is commissioned and run.
Repainting an occupied room later
The same rules, plus two.
First, rub the slot edge back lightly with 240 grit before you repaint, to take off the previous coat's build-up. Second, cover the plenum, not just the room. A diffuser is a hole into a duct that leads to a fan; dust, flakes and overspray that go in come back out across the whole system. Tape the aperture over completely for the duration of the works, and leave the ventilation off while you do it.
If something has already gone wrong
Paint has bridged the slot. Score it open with a sharp blade run along the slot at a shallow angle, then rub back with folded abrasive. Do not prise it — gypsum chips.
Compound has set inside. Soften with a damp sponge and work it out gently. If it is on the deflector and will not shift, call us before you start attacking it.
The edge has been rounded by sanding. It can be rebuilt with fine filler worked against a straightedge and re-cut, but it is fiddly. Prevention is the only good answer.
A crack has opened around the perimeter. That is a jointing issue, not a product issue — rake out, scrim and refill in thin passes.
The full fitting sequence, including what the plasterer should have done before you arrived, is on the Line diffuser installation page, with further guidance under installation.
Decorators and plasterers
If you have hit something on site and want a straight answer, call us. We would far rather spend five minutes on the phone than have a diffuser cut out.
+44 (0)1283 240025 · Installation guides · Open a trade account
Where to go next
- Line vs Performance Line vs Circle — what you are actually painting around
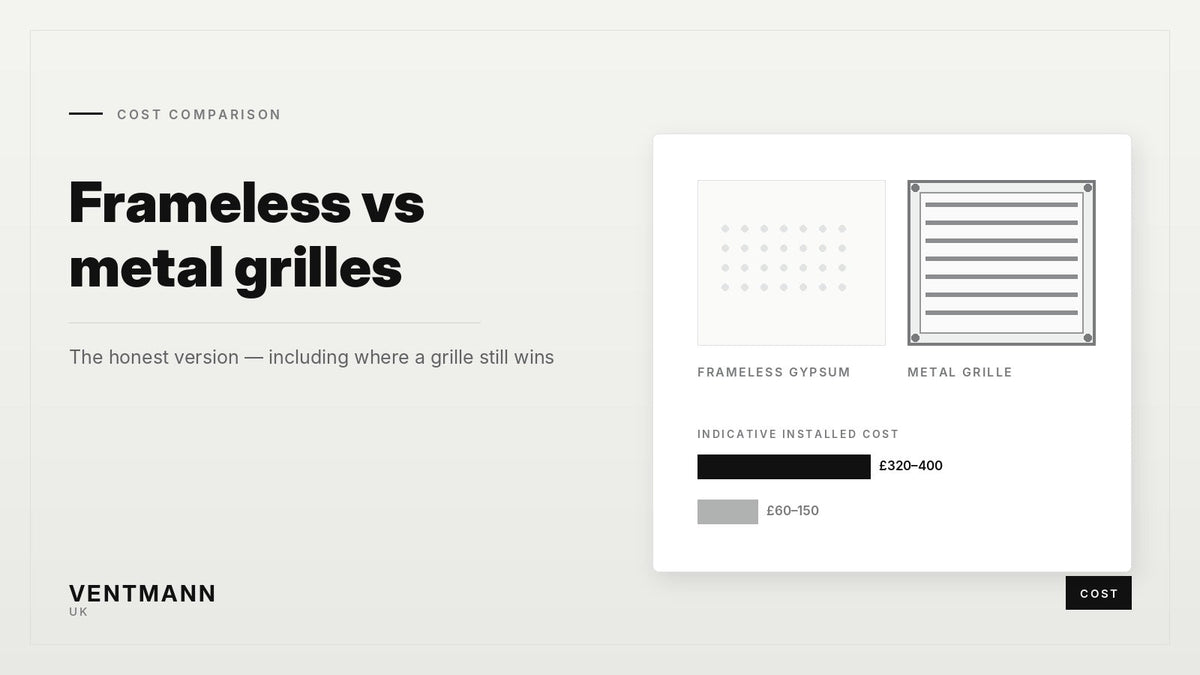
- Frameless vs metal grilles — where the plastering and decorating time lands
- MVHR diffusers for self-build — send this one to your builder too
- Apartment schemes at scale — getting the method right once, then repeating it